
There is a profound silence that falls over a room when a truly great bowl of chili is served. I’ve seen it happen in busy gastropubs and at quiet family tables alike. This Texas Chili is my version of that magic—bold, thick, and deeply savory. Whether you’re a purist who believes beans are a “culinary crime” or you love the heartiness of a bean-loaded bowl, this recipe is designed to be your ultimate cold-weather companion.
I remember one particularly freezing winter when I was helping a friend launch a small zero-waste pop-up. We had a massive amount of beef trim and a pantry full of spices. We decided to simmer a “perpetual” pot of chili on the back burner. By day three, the flavor had intensified into something so complex and rich that people were lining up just for the aroma. That experience taught me the most important lesson about chili: Time is an ingredient. You can’t rush the soul into a bowl of Texas red.
Why You’ll Love This Recipe
- The “Flavor Depth” Guarantee: We toast the spices in beef fat before adding liquid—a professional move that unlocks hidden layers of aromatics.
- Budget-Friendly Bulk: One large pot can feed a crowd or provide a week’s worth of high-protein meal prep.
- The “Reset” Meal: This is the ultimate freezer-friendly dish. It actually tastes better after a few days in the cold.
- Customizable Heat: You control the jalapeño seeds. Keep them in for a “Texas Handshake” (hot!) or remove them for a gentle warmth.
- One-Pot Simplicity: From browning to simmering, everything happens in your favorite Dutch oven.
- Zero-Waste Potential: This is the perfect “fridge-clearing” recipe. That last bit of coffee or the dregs of a dark beer? They belong in this pot.
Health Benefits
- Protein Powerhouse: Packed with iron and B12 from the beef, and fiber from the optional beans.
- Metabolism Boost: Capsaicin from the chili peppers and jalapeños provides a natural thermogenic kick.1
- Antioxidant Rich: Cumin and oregano are surprisingly high in antioxidants, and cooked tomatoes are a prime source of lycopene.2
- Immune Support: The heavy hitters—garlic and onions—provide sulfur compounds that help keep you resilient during flu season.
Ingredients at a Glance
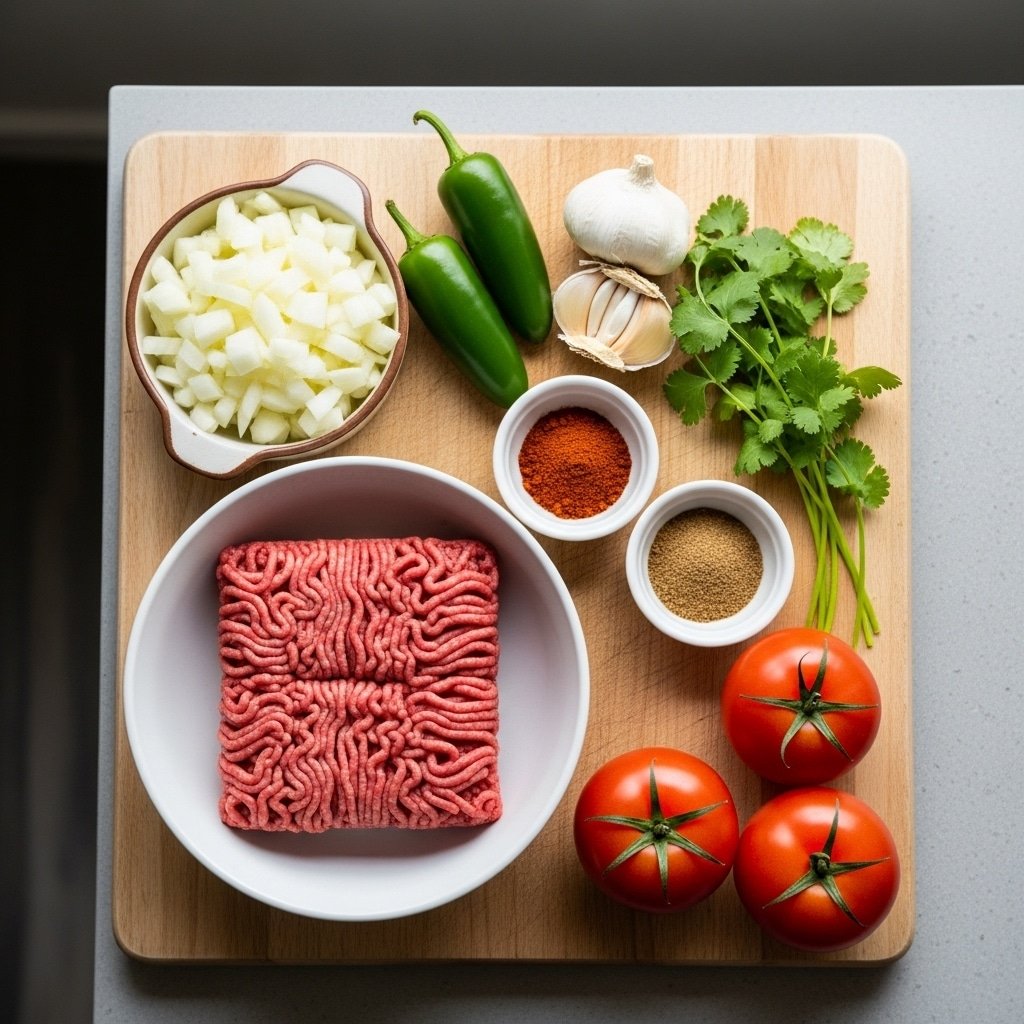
- Beef Chuck or 80/20 Ground Beef: If you have the time, hand-cubed chuck roast creates “melt-in-your-mouth” nuggets of gold.
- The Aromatic Trinity: Onion, jalapeño, and plenty of fresh garlic.
- Tomato Paste: We “fry” this briefly to remove the raw metallic taste and bring out a deep, jammy sweetness.
- Beef Broth & Crushed Tomatoes: This creates the “gravy” that binds the chili together.
- The “Texas” Spices: Chili powder, cumin, smoked paprika, and coriander. The coriander adds a citrusy lift that keeps the chili from feeling too “heavy.”
- Brown Sugar: Just a touch to balance the acidity of the tomatoes and the smoke of the paprika.
Step-by-Step Overview
- The Hard Sear: Brown your meat in batches. If you crowd the pan, the meat will steam instead of sear. You want a dark, mahogany crust—that is where the “beefiness” comes from.
- The Sweat: Sauté the onions and jalapeños in the rendered beef fat until they are translucent and soft.
- The Spice Bloom: Add your spices to the dry pan with the veggies. Stir for 60 seconds until the room smells like a Texas spice market.
- The Marriage: Stir in the tomato paste, then deglaze with the beef broth, scraping up every single brown bit from the bottom.
- The Long Nap: Simmer low and slow. At 1 hour, it’s good. At 2 hours, it’s legendary.
- The Finish: Stir in beans (if using) at the very end so they stay intact and don’t turn to mush.
Sofia’s Professional Secrets
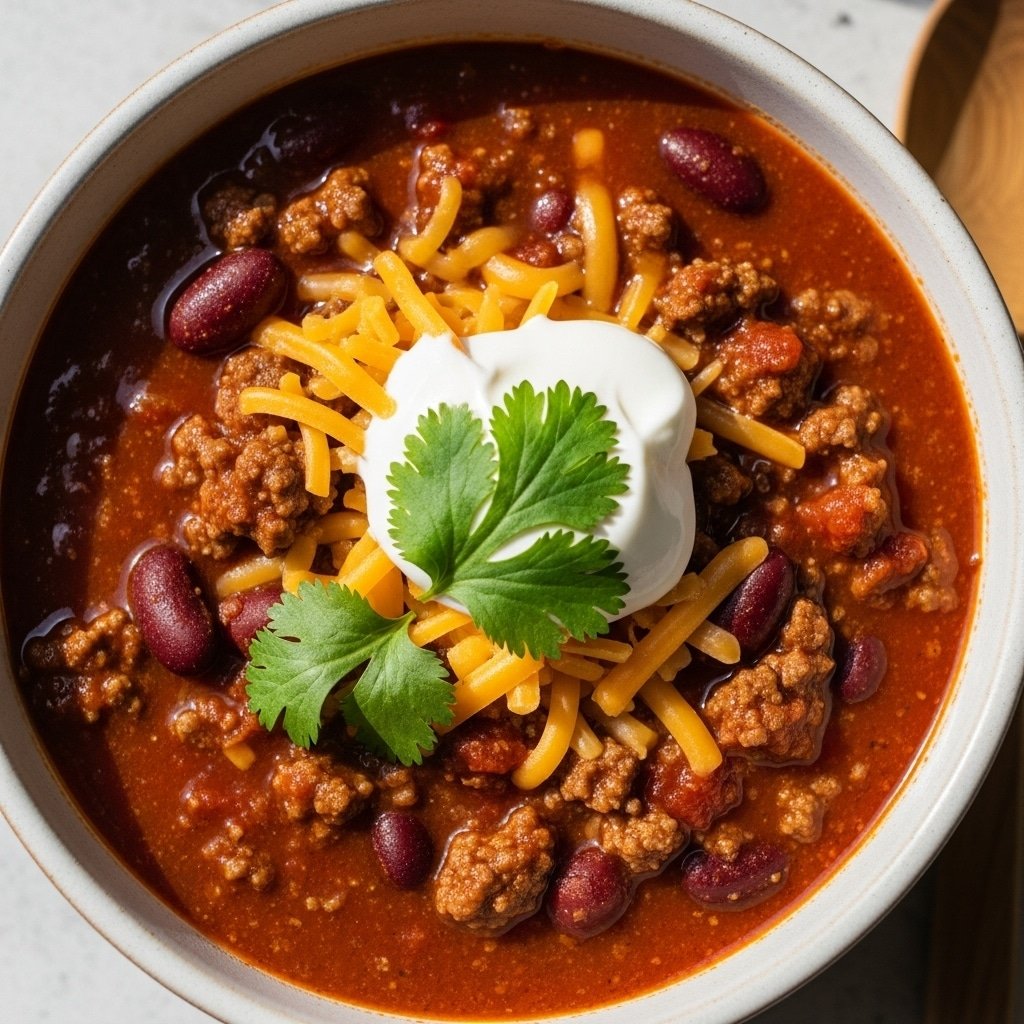
- The “Single Bite” Shot: When plating, lift a spoonful of the thick chili towards the camera, topped with a single perfect slice of jalapeño and a shred of melting cheese. It highlights the “chunky” texture that Texas chili is famous for.
- The “Umami” Add-ins: Stir in a tablespoon of cocoa powder or a splash of strong coffee. It won’t taste like chocolate or breakfast, but it will make the beef taste “meatier” and the spices darker.
- Zero-Waste Hack: Don’t throw away the cilantro stems! Chop them very finely and sauté them with the onions. They have more flavor than the leaves.
- The “Masa” Trick: If your chili is too thin, whisk in a tablespoon of Masa Harina (corn flour). It thickens the sauce and adds a beautiful toasted corn flavor.
- Acid Balance: If the chili feels “flat” after simmering, add a teaspoon of apple cider vinegar or a squeeze of lime right before serving. Acid “wakes up” the spices.
Experience Troubleshooting
- “My chili is too greasy.” If you use 80/20 beef, you’ll have excess fat. Don’t toss it all! Keep about 2 tablespoons for flavor, but spoon off the rest before adding the liquids.
- “It’s too spicy!” Don’t panic. Add a little more brown sugar or serve it with an extra dollop of sour cream. Dairy is the natural enemy of capsaicin heat.
- “The beef is tough.” This means it needs more time. Beef chuck has connective tissue that only breaks down after a long, slow simmer. Keep the heat low and keep waiting.
- “It’s stuck to the bottom.” You likely had the heat too high. Stir more frequently and add a splash of water or broth to loosen it up.
Ways to Switch It Up
- The “Broke” Version: Use more beans and less meat. Kidney, pinto, and black beans all play well together.
- The High-Protein Twist: Use ground bison or venison for an ultra-lean, wild-game flavor profile.
- White Chicken Chili: Swap the beef for shredded chicken and the red tomatoes for green chiles and cannellini beans.
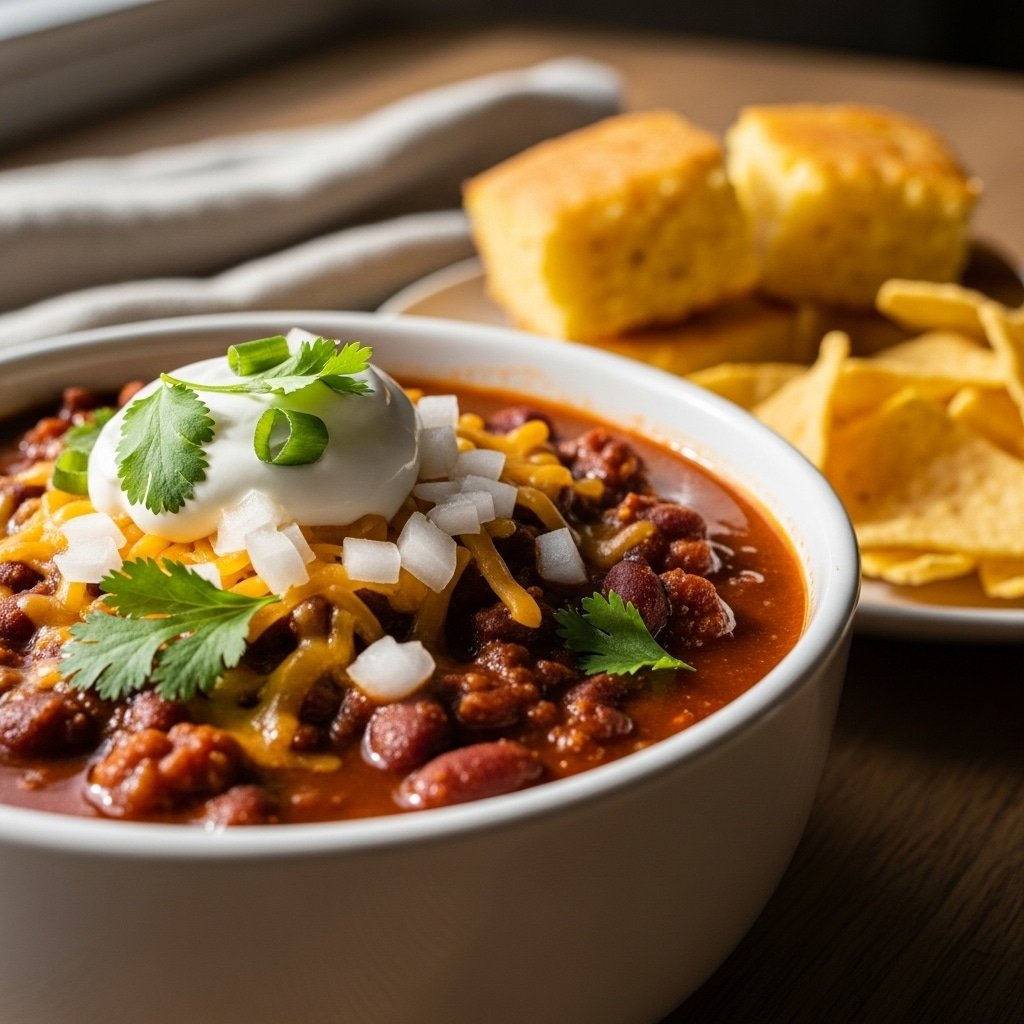
- The “Frito Pie”: Serve the chili directly inside a small bag of Fritos, topped with onions and cheese. It’s a Texas classic.
- Zero-Waste Hero: If you have leftover roasted peppers or half a jar of salsa, throw them in! Chili is incredibly forgiving.
Keeping It Fresh
Chili is the king of leftovers. Store it in an airtight container for up to 5 days in the fridge. For meal prep, I recommend freezing it in “single-portion” bags or containers. When you’re ready to eat, thaw it overnight in the fridge and reheat it on the stove with a splash of water. Pro Tip: Never boil your chili when reheating; just bring it to a gentle simmer to keep the meat tender.
Save This One
Pin this to your “Game Day” or “Easy Dinners” board. It’s a recipe that has been refined over decades of professional cooking, and it’s the one I reach for whenever the wind starts to howl outside.
Stuff People Ask Me
- Q: “Can I use a slow cooker?”
- A: Yes! Brown the meat and veggies in a pan first (don’t skip this!), then throw everything in the slow cooker on Low for 8 hours.
- Q: “Is it really chili if it has beans?”
- A: In a Texas competition? No. In my kitchen? If it tastes good and fills your belly, it’s chili.
- Q: “What’s the best beer for chili?”
- A: Go for something dark and malty, like a Stout or a Shiner Bock. Avoid hoppy IPAs, as they can turn bitter when boiled.
One More Thing
Chili is a personal journey. Some like it thick enough to stand a spoon in; others like it more like a soup. Adjust the broth levels to find your perfect “bowl of red.” Now, grab a piece of cornbread and get to work!
Hearty Texas-Style Chili (with Bean Option)
Ingredients
Equipment
Method
- In a large Dutch oven, brown the beef in batches. Ensure a deep, mahogany sear for maximum flavor. Remove excess grease, leaving 2 tbsp in the pot.
- Add onions and jalapeños. Sauté until soft. Stir in garlic and all spices (chili powder, cumin, paprika, coriander). Toast for 1 minute until fragrant.
- Stir in tomato paste and cook for 1 minute to remove the ‘raw’ taste. Deglaze the pot with beef broth, scraping the bottom for brown bits.
- Add crushed tomatoes, diced tomatoes, brown sugar, salt, and pepper. Bring to a boil, then reduce heat to low and simmer, partially covered, for at least 1-2 hours.
- If using beans, stir them in during the final 30 minutes of simmering so they hold their shape.
- Rest for 10 minutes. For your ‘Single Bite’ shot, lift a spoonful of thick chili topped with a perfect slice of jalapeño and melting cheese towards the camera.