
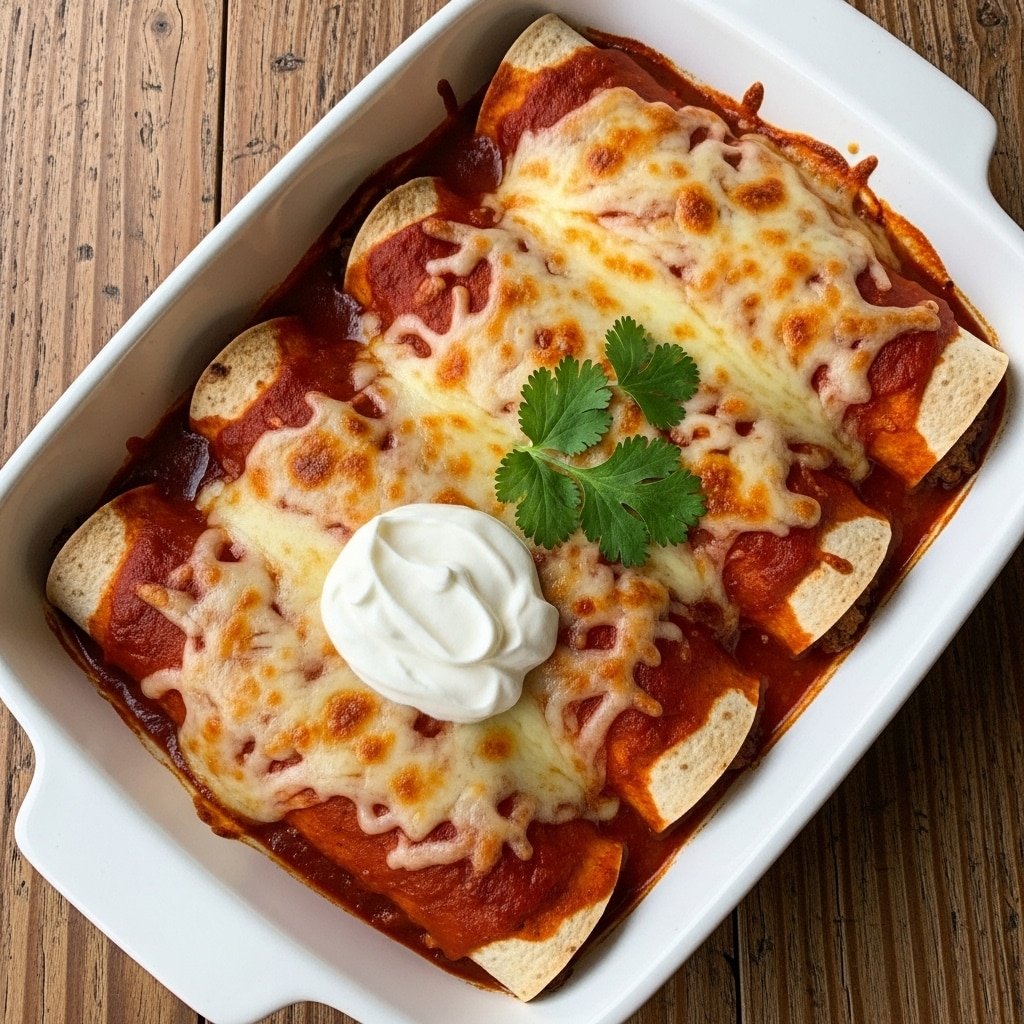
There is a profound silence that falls over a room when a truly great tray of cheesy enchiladas is served. I’ve seen it happen in busy gastropubs and at quiet family tables alike. These Easy Beef Enchiladas are my version of that magic—bold, thick with savory beef, and deeply satisfying. Whether you’re a purist who believes corn tortillas are the only way or you love the soft, pillowy texture of flour tortillas, this recipe is designed to be your ultimate Tex-Mex companion.
I remember one particularly freezing winter when I was helping a friend launch a small zero-waste pop-up in Madrid. We had a massive amount of beef trim and a pantry full of dried chiles. We decided to simmer a dark, complex red sauce and roll it into tortillas with every scrap of cheese we had. By the end of the shift, the aroma of toasted cumin and melting cheese was so intoxicating that people were lining up just for the scent. That experience taught me the most important lesson about comfort food: The sauce is the soul. You can’t rush the depth into an enchilada pan.
Why You’ll Love This Recipe
- The “Flavor Depth” Guarantee: We bloom the taco seasoning in the rendered beef fat before adding the green chiles—a professional move that unlocks hidden layers of aromatics that stay dormant in the jar.
- Budget-Friendly Bulk: One batch uses a standard 1.5 lbs of beef but stretches into 12 hearty enchiladas by utilizing black beans and a rich, creamy filling.
- The “Reset” Meal: This is the ultimate make-ahead dish. It actually tastes better after a day because the tortillas have time to “jam up” and absorb the nuances of the red sauce.
- Customizable Heat: You control the green chiles. Keep the seeds in for a “Texas Handshake” (hot!) or remove them for a gentle warmth that won’t scare the kids.
- One-Pan Simplicity: From browning the beef to the final cheese melt, everything happens in one skillet and one baking dish. Minimal cleanup for a busy Tuesday.
- Zero-Waste Potential: This is the perfect “fridge-clearing” recipe. That half-jar of salsa or the dregs of a bag of frozen corn? They belong in this filling.
- The “Creamy” Secret: By stirring sour cream directly into the beef filling, we ensure the interior stays moist and decadent, even after a long bake.
- Kid-Approved: The mild red sauce and abundance of melted cheese make this a winner for even the pickiest eaters.
Health Benefits
- Protein Powerhouse: Packed with iron and B12 from the beef, and essential fiber from the black beans to keep you full longer.
- Metabolism Boost: Capsaicin from the chili powder in the seasoning provides a natural thermogenic kick to your system.
- Antioxidant Rich: Cumin and garlic are surprisingly high in antioxidants, and the red chiles in the sauce are a prime source of vitamins A and C.
- Immune Support: The heavy hitters—fresh garlic and onions—provide sulfur compounds that help keep you resilient during the cold months.
Ingredients at a Glance

- 1.5 lbs 80/20 Ground Beef: You need that fat to carry the spices. If you go too lean, the filling gets “pebbly” instead of saucy.
- The Aromatic Trinity: Yellow onion, fresh garlic, and diced green chiles. This is where the heart of the Tex-Mex flavor begins.
- Red Enchilada Sauce: Two 10oz cans. One for the filling and the base, one for the crowning glory on top.
- The “Creamy” Binder: Sour cream and shredded Mexican blend cheese. This keeps the beef from drying out inside the oven.
- The Spices: A high-quality taco seasoning (look for one with plenty of cumin and smoked paprika).
- Tortillas: 12 flour or corn tortillas. Flour is easier to roll, while corn offers a more authentic, nutty flavor.
- Black Beans: These add a beautiful “zero-waste” bulk to the meat, making the protein go twice as far.
Step-by-Step Overview
- The Hard Sear: Brown your meat and onions in a hot pan. If you crowd the pan, the meat will steam instead of sear. You want a dark, mahogany crust—that is where the “beefiness” comes from.
- The Sweat: Sauté the onions and green chiles in the rendered beef fat until they are translucent and soft.
- The Spice Bloom: Add your garlic and taco seasoning to the pan. Stir for 60 seconds until the room smells like a spice market. This removes the “raw” spice taste.
- The Marriage: Stir in the beans, 1/2 cup of sauce, and the sour cream. Deglaze the pan by scraping up every single brown bit from the bottom.
- The Roll: Spoon the mix into warm tortillas, add a sprinkle of cheese, and roll them tightly. Place them seam-side down so they don’t unravel.
- The Smother: Pour the remaining sauce over the top. Don’t be shy—the tortillas will absorb more than you think!
- The Bake: Cover with foil for the first 20 minutes to “steam” the tortillas tender, then uncover and bake until the cheese is bubbly and spotted with brown.
Sofia’s Professional Secrets
Sofia’s Professional Secrets
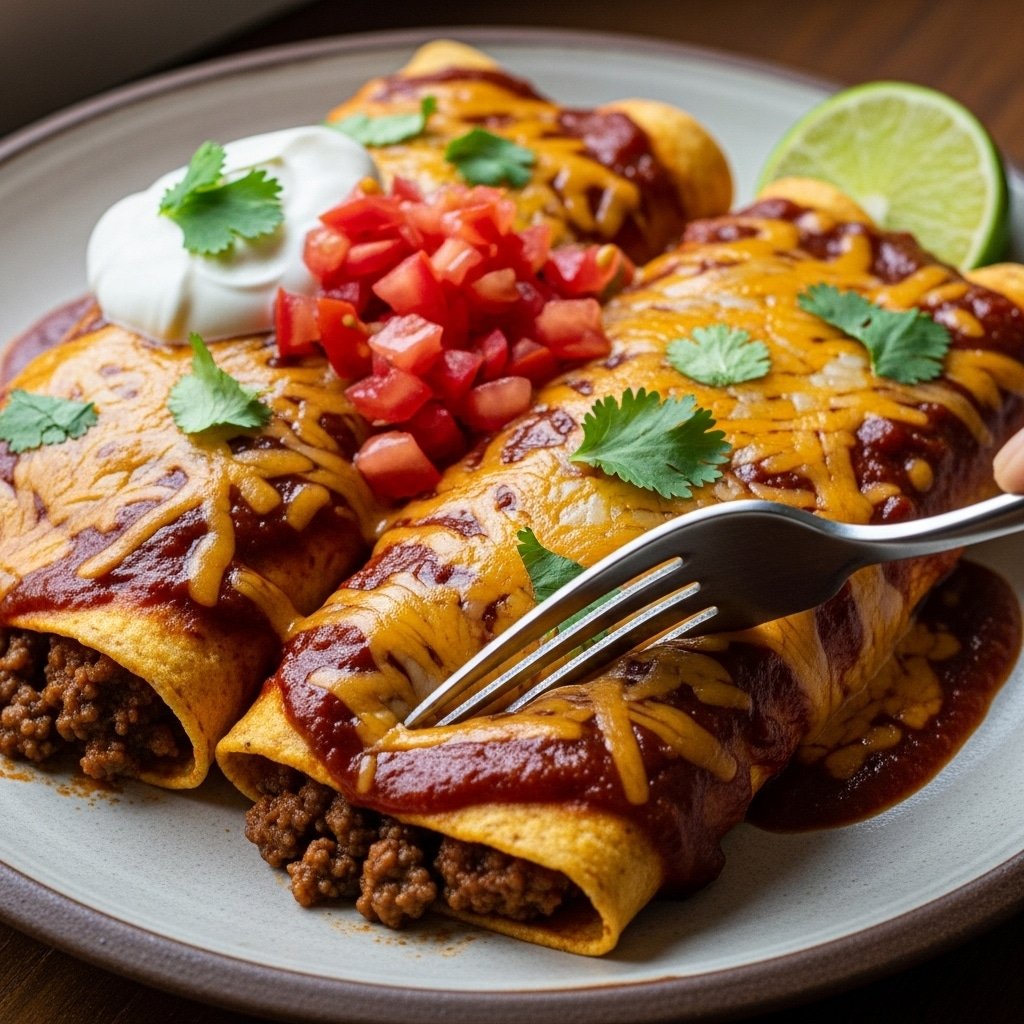
- The “Single Bite” Shot: When plating, lift one enchilada from the center to get the best cheese pull. A hand holds a spoon (or spatula), lifting a single bite from a bowl (or plate) towards the camera, slow-motion, to clearly showcase its texture and detail.
- The “Umami” Add-ins: Stir in a teaspoon of cocoa powder or a splash of strong coffee into the beef. It won’t taste like a mocha, but it will make the red chiles taste “meatier” and the sauce darker.
- The Tortilla Softener: If using corn tortillas, dip them quickly into warm enchilada sauce before rolling. It seasons the bread itself and prevents it from cracking.
- Acid Balance: If the enchiladas feel “flat,” squeeze fresh lime juice over the whole dish right before serving. Acid “wakes up” the heavy cheese and spices.
- The “Cheese Foundation”: Always put a thin layer of sauce in the bottom of the dish before the tortillas. It prevents the bread from sticking and ensures the bottom is just as flavorful as the top.
Experience Troubleshooting
- “My enchiladas are soggy.” I’ve been there—pulling a dish out only to see a mushy mess. This usually happens if you use too much sauce inside the tortilla. Keep the interior filling thick (like a paste) and let the exterior sauce do the heavy lifting.
- “The tortillas cracked!” This is a classic “I’ve been there” moment. It happens when the tortillas are too cold. Always warm them in a damp paper towel in the microwave for 30 seconds before you start rolling.
- “The cheese didn’t melt right.” If you use pre-shredded cheese, the cellulose coating can prevent it from flowing. For a professional finish, grate your own Monterey Jack or Cheddar from a block.
- “The filling is too dry.” This happens if you skip the sour cream or broth. If you catch it late, serve with an extra dollop of guacamole or salsa to add moisture back into the bite.
Ways to Switch It Up
- The “Broke” Version: Use half the meat and double the black beans. It’s just as filling and significantly cheaper.
- The High-Protein Twist: Use ground turkey or bison. If using turkey, add an extra tablespoon of olive oil to the pan since it’s leaner and needs help “blooming” the spices.
- Green Style: Swap the red sauce for a Tangy Salsa Verde (green sauce) and use Pepper Jack cheese for a brighter, zingier profile.
- The “Enchilada Bake”: If you’re in a rush, don’t roll them. Layer the tortillas like lasagna noodles for a “stacked” enchilada casserole.
- Zero-Waste Hero: If you have leftover roasted chicken or a half-jar of salsa, chop the chicken and stir it into the beef base. Enchiladas are the ultimate “refrigerator velcro.”
Keeping It Fresh
Enchiladas are the kings of leftovers. Store them in an airtight container for up to 4 days in the fridge. For meal prep, you can actually freeze the entire tray before baking. When you’re ready to eat, bake from frozen, adding about 15 minutes to the covered cook time. Pro Tip: If reheating in the microwave, add a tiny splash of water to the plate to keep the tortilla from getting chewy.
Save This One
Don’t lose this Easy Beef Enchiladas Recipe! Save it to your Pinterest boards or bookmark it for those nights when you’re craving cozy Tex-Mex comfort food. These cheesy, saucy enchiladas are a “Sofia Martin” staple—perfect for feeding a crowd on a budget while maintaining that professional, restaurant-quality edge. Whether it’s a cold Tuesday in Savannah or a busy night in Madrid, this dish always brings the warmth.
Stuff People Ask Me
- Q: “Can I use corn tortillas instead of flour?”
- A: Absolutely. Corn is more traditional. Just make sure to “flash fry” them in a little oil for 5 seconds per side first to make them sturdy enough to hold the sauce.
- Q: “What cheese is best?”
- A: A mix of Monterey Jack (for the melt) and Sharp Cheddar (for the flavor) is the gold standard.
- Q: “Is this spicy?”
- A: It’s “warm” but not “hot.” If you want heat, add fresh jalapeños to the beef mixture.
- Q: “Can I make this in a slow cooker?”
- A: You can make the filling in a slow cooker, but for the actual enchiladas, the oven is best to get that bubbly, browned cheese crust.
One More Thing
Cooking is a personal journey. Some like their enchiladas “swimming” in sauce; others like them a bit drier with more cheese. Adjust the sauce levels in your baking dish to find your perfect balance. Now, get that beef browning and get to work!
Easy Beef Enchiladas
Ingredients
Equipment
Method
- Preheat oven to 375°F. Lightly grease your 9×13 baking dish and spread 1/2 cup of enchilada sauce across the bottom to create a non-stick flavor base.
- In a large skillet, brown the ground beef with the onion. Drain the excess fat, but keep about a tablespoon for blooming the spices.
- Add the garlic and taco seasoning to the beef. Stir for 60 seconds until the spices smell toasted and fragrant.
- Fold in the green chiles, black beans, and 1/2 cup of enchilada sauce. Remove from heat and stir in the sour cream and 1 cup of cheese until creamy.
- Warm the tortillas until pliable. Place 1/3 cup of filling in the center, roll tightly, and place seam-side down in the prepared dish.
- Pour the remaining enchilada sauce over the top and sprinkle with the remaining cheese. Cover with foil.
- Bake covered for 20 minutes. Remove the foil and bake for 10-15 more minutes until the cheese is bubbly and starting to brown.
- Let rest for 5 minutes before serving to allow the sauce to set.